Blog
How to install the ferrule pipe fitting correctly?
1. Characteristics of ferrule pipe joints
The connection methods between oil pipes and joints can be divided into the following categories according to their characteristics: welded pipe joints, flared pipe joints, ferrule pipe joints and rotatable pipe joints. These connection methods each have their own characteristics and applicable scenarios, providing a variety of connection options for hydraulic systems.
Ferrule pipe joints are composed of cold-drawn tubes, ferrules, joints and nuts. When the ferrule and nut are inserted into the joint body on the steel pipe and the nut is tightened, the outer side of the front end of the ferrule fits the conical surface of the joint body, and the inner edge bites into the seamless steel pipe evenly to form an effective seal.
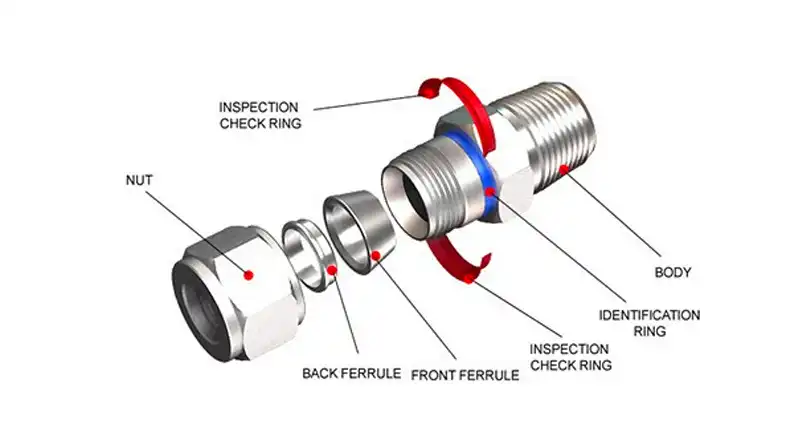
Therefore, the ferrule is the key part of the ferrule type pipe joint. It is required to be elastic and not to break when deformed, so the heat treatment requirements of the ferrule are very high. In addition, the deformation of the ferrule is limited, and the pipe must be a high-precision cold-drawn seamless steel pipe with uniform outer diameter.
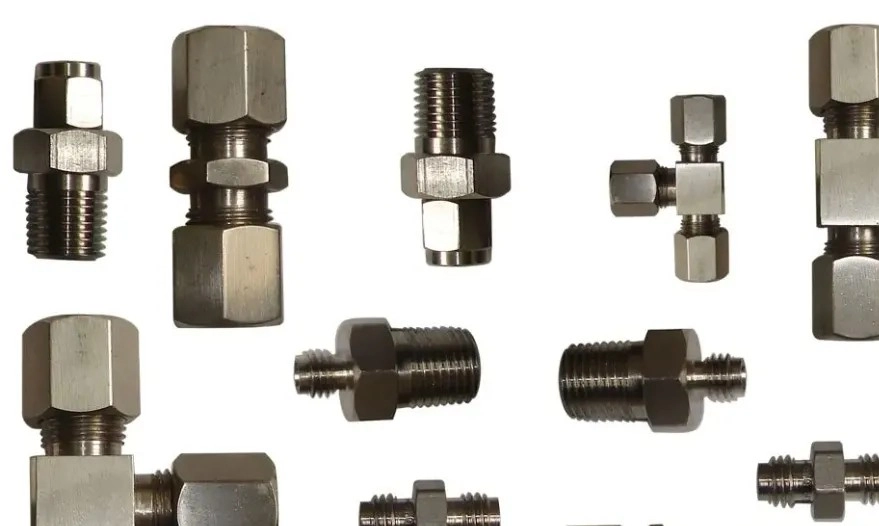
Compression fittings are appreciated for their simple structure and convenient use and can be installed without welding operations. The main advantages of this type of fittings include excellent pressure resistance, vibration resistance, heat resistance and excellent sealing performance. They are particularly suitable for working environments that need to withstand high pressure, withstand vibration or have strict requirements on sealing performance.
2. Preparation before installation
Correct installation of the ferrule pipe joint is very important. The preparations before assembling the pipe joint are:
(1)Material selection:
Select the matching pipe fittings according to the steel pipe.
(2)Hard pipe length measurement:
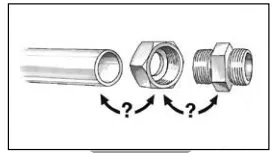
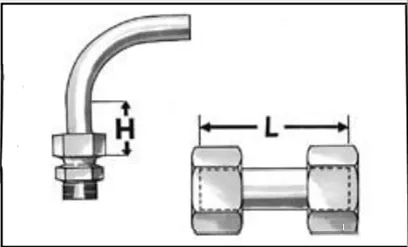
Ensure that the minimum length H or L of the straight section at the pipe end is not less than twice the length of the nut.
(3)Hard pipe processing:
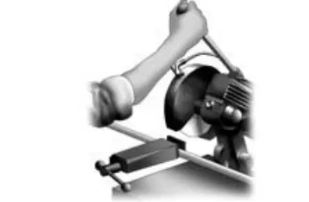
remove burrs and grind the hard pipe.
(4)Choose assembly method:
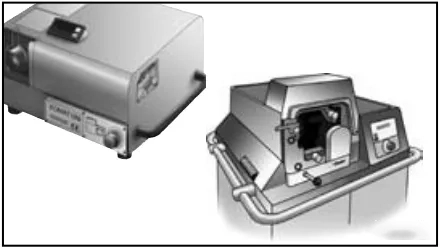
Machine assembly is preferred, which is convenient, fast and more efficient. Manual assembly is more economical for small batches and single pieces.
3. Machine installation
(1)Pre-installation:
Adjust the pre-installation pressure according to the pressure gauge on the equipment. If the material of the pipe is softer than carbon steel or stainless steel, the pre-installation pressure needs to be appropriately reduced.
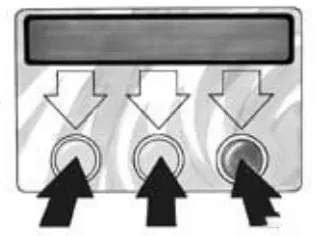
Clean and lubricate the pre-assembled mold frequently.
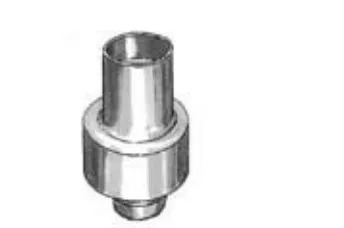
Insert the appropriate tool, clean and lubricate the pre-assembled mold. Close the valve on the pump manually.
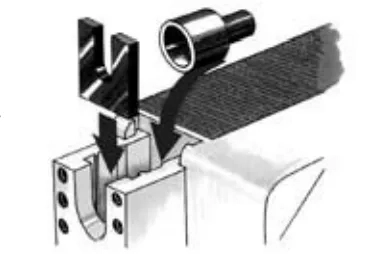
Put the nut and ferrule on the steel pipe.
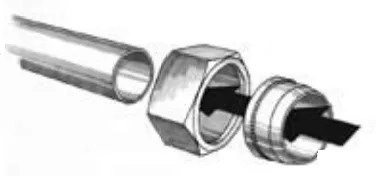
Place the steel pipe with nut and ferrule into the mold, hold it tightly and push it hard to make it fit tightly against the mold.
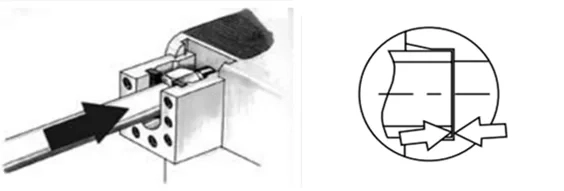
Hold the steel pipe tightly, press the start button, and operate the manual pump handle until the pressure reaches the required value.
After pre-installation is completed, take out the steel pipe for inspection. When inspecting, pay attention to the obvious bulge at the first cutting edge, allowing the ferrule to rotate on the steel pipe.
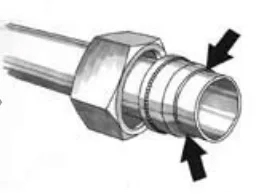
(2) Assembly
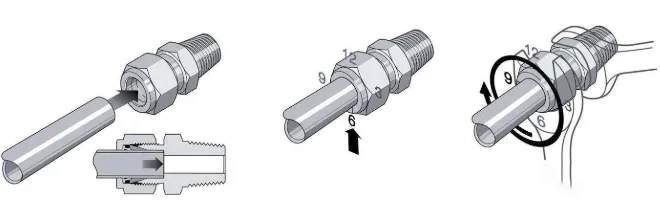
Tighten the nut until a noticeable torque is generated. Be sure to mark the position of the nut.
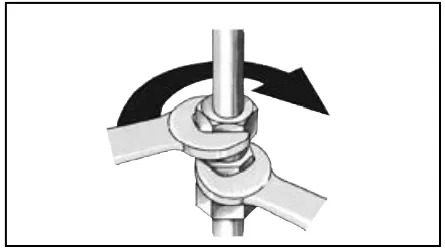
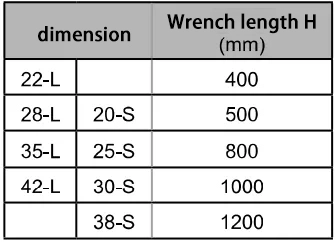
Tighten 30 degrees with a wrench. For steel pipes with an outer diameter greater than 20mm, it is recommended to use an extended wrench (see the table below).
4. Manual installation
(1)No mold
Lubricated threads can reduce wear and preload force.
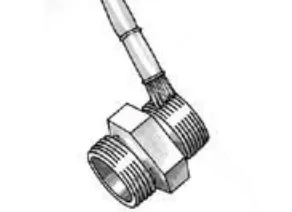
Turn the nut by hand until noticeable torque is developed.
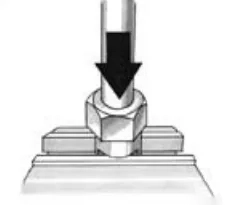
Insert the steel pipe and press it tightly to ensure the pipe ends are in contact.
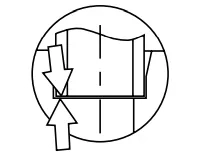
Mark the nut and tighten it 1-1/2 turns with a wrench.
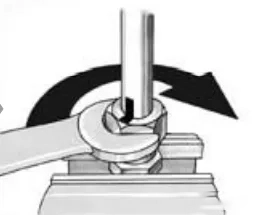
Inspection: Loosen the nut and check whether there is an obvious ridge at the first cutting edge, allowing the ferrule to rotate on the steel pipe.
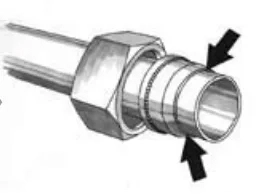
(2)With mold
Lubricate the stainless-steel joint with lubricating oil before pre-installation.
Regularly use the inspection tool to inspect the pre-installation mold, clean and lubricate the pre-installation mold.
Using the pre-installation tool, each joint body can only be pre-installed once. Rotate the nut by hand until a noticeable torque is generated.
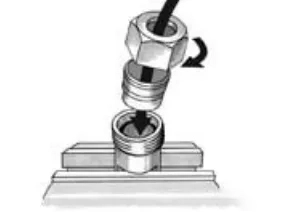
Insert the steel pipe and press it tightly to ensure that the pipe end is in contact with the mold.
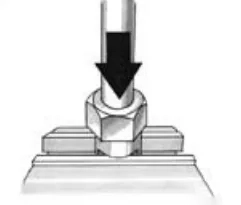
Mark the nut and tighten it 1-1/2 turns with a wrench.
Check: Loosen the nut and check if there is a noticeable bulge at the first cutting edge, allowing the ferrule to rotate on the steel pipe.
Tighten the nut until a noticeable torque is generated, mark the position of the nut, and tighten it 30 degrees with a wrench.
5. Repeated assembly
Each time the pipe joint is unscrewed, it must be tightened again according to the correct steps. The steps for repeated assembly are as follows:
Lubricate the threads
The torque when reassembling the joint after it is loosened must be consistent with the torque during the initial assembly, and the joint body must be fixed.
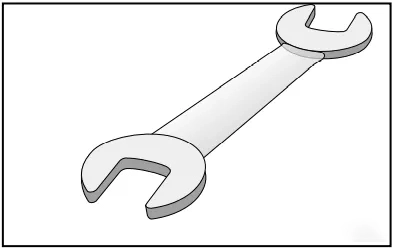
Tighten it 30 degrees with a wrench.
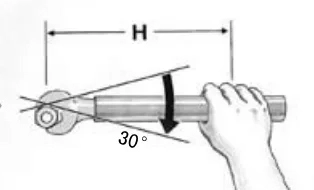
6. Installation precautions
① The inside and outside of the pipe interface connected to the ferrule joint must be cleaned, and the joint outlet must be polished and leveled.
② The embedded part of the pipe and the ferrule joint must not be bent, otherwise it will cause leakage at the connection between the ferrule pipe joint and the steel pipe.
③ It is forbidden to add fillers such as sealants. To achieve a better sealing effect, some people apply sealants on the ferrules. As a result, the sealants are flushed into the hydraulic system, causing the hydraulic component damping hole to be blocked and other faults.
④ When connecting the pipeline, the pipe should have enough deformation margin to avoid the pipe being subjected to tensile force. It should be tightened at one time to avoid multiple disassembly, otherwise the sealing performance will deteriorate.